Q1:如何使用槽函数?
https://blog.csdn.net/hb_programmer/article/details/90669577
ps:如下教程与如上链接中的法二+法四相同,只用使用一种即可
VS中qt的使用
在qt中可以直接添加信号与槽 在vs中使用是不一样的
直接新建一个qt 项目
打开 设计师界面
在vs中 的头文件(如QtWidgetsApplication1.h)中添加槽函数声明

在cpp(如QtWidgetsApplication1.cpp)中实现

比较让人在意的是 构造函数中 ui.setupUi(this) 在qt中是ui->setupUi(this)
在qt中 选择这个 编辑信号/槽工具

点击按钮(pushbutton)不松手 ,拖向窗体后出现如下

点击编辑

点击加号后,输入函数(之前写的槽函数调用语句)
点击ok,点击保存后关闭设计界面
运行如下


注意,默认无法显示中文,需要手动修改相关设置
如:声明文件使用的编码格式:(QtWidgetsApplication1.cpp文件最顶部添加)
#pragma execution_character_set("utf-8")附
QByteArray QString 互相转换防止乱码的方式
QByteArray   value = file.readAll();  //假设此文件是utf8格式QString  str = QString::fromUtf8( value ); //转换为了QString
//如果从QString再转换回QByteArray的话, 使用str.toLatin1();
//是会乱码的
//使用一种比较粗鄙的方式QByteArray by = str.toStdString().c_str();  //先转c++标准string,再转 char*
Q2:VS2019+QT5.14.2:无法打开 源 文件 “ui_QtGuiApplication2.h“的解决方案
https://blog.csdn.net/good_hi/article/details/108027864
Q3:QT5.14.2+VS2019:在UI中添加控件,但代码中却不显示
- 更改UI界面后,保存UI界面;
- 返回VS中,找到UI界面文件,右击->编译;
- 再选中解决方案,右击->重新扫描解决方案。
经过以上步骤,即可成功实现UI界面中新添加控件名称的识别。
Q4:只用两个槽函数不需要连接吗?
Q5:编译器设置
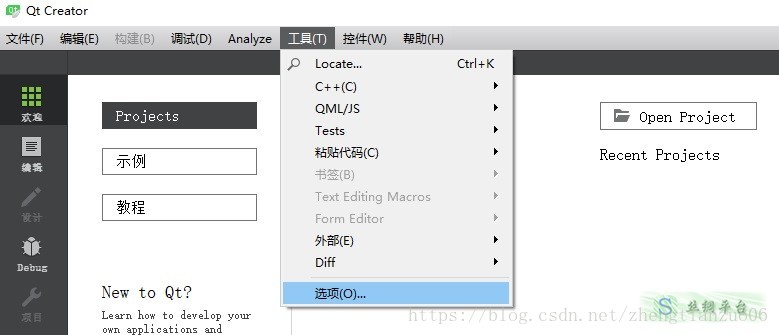
启动QtCreator, 首先进行配置
菜单选择工具->选项
查看构建套件kit发现调试器未设置
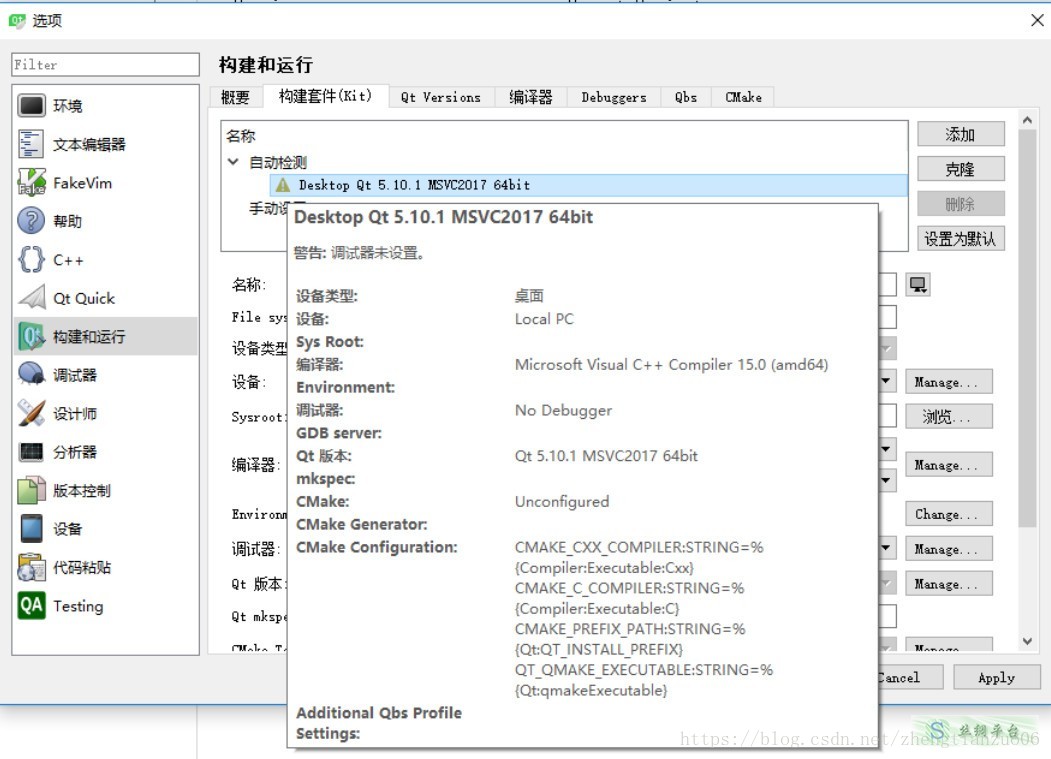
先关闭Qt Creator
msvc编译器使用windbg下的cdb调试器 所以需要安装windbg
https://docs.microsoft.com/en-us/windows-hardware/drivers/debugger/debugger-download-tools
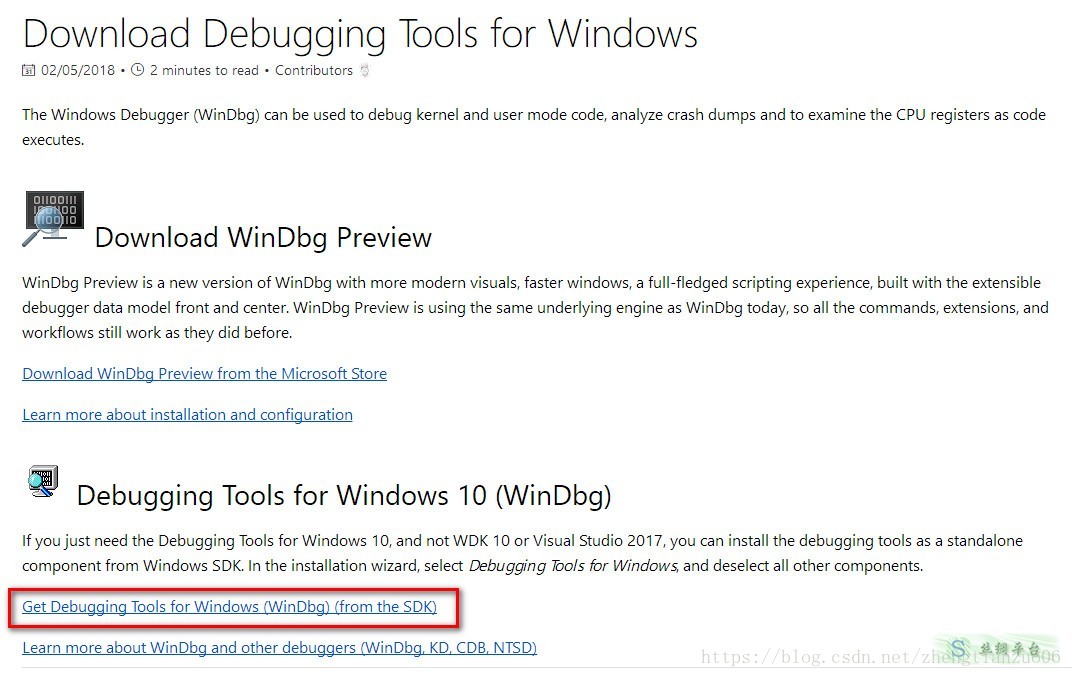
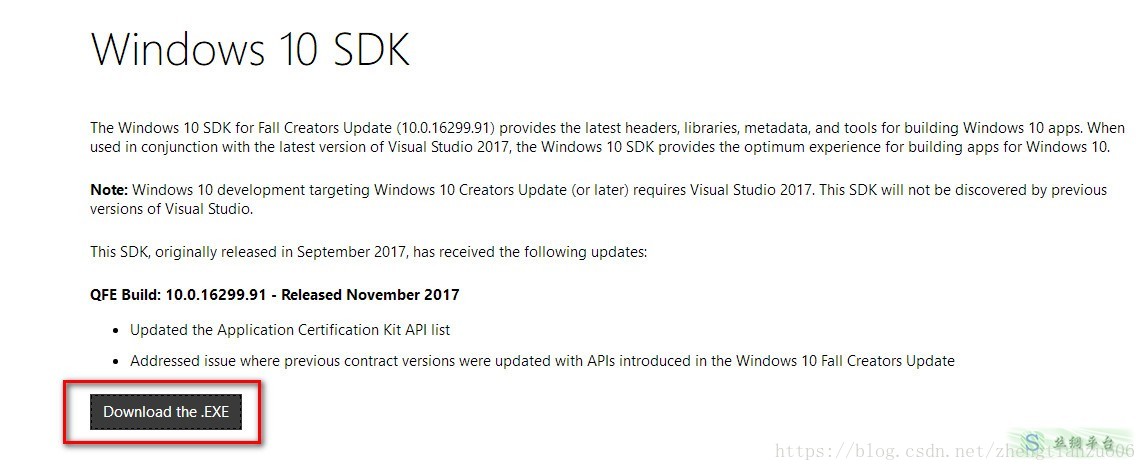
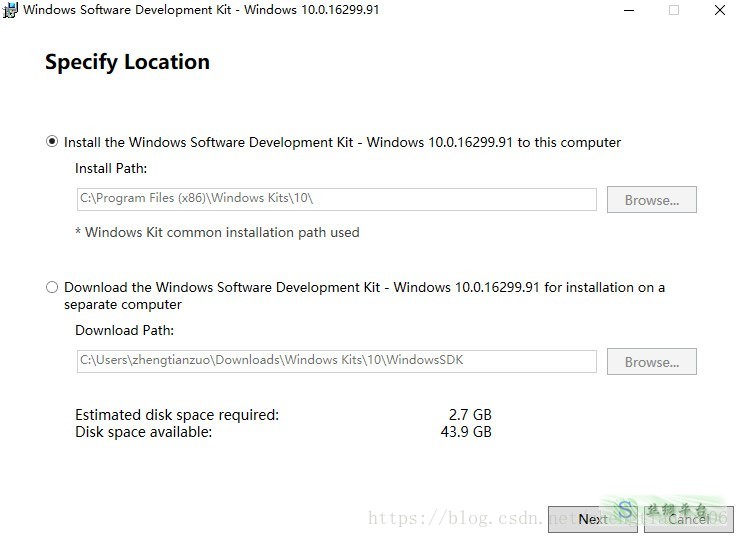
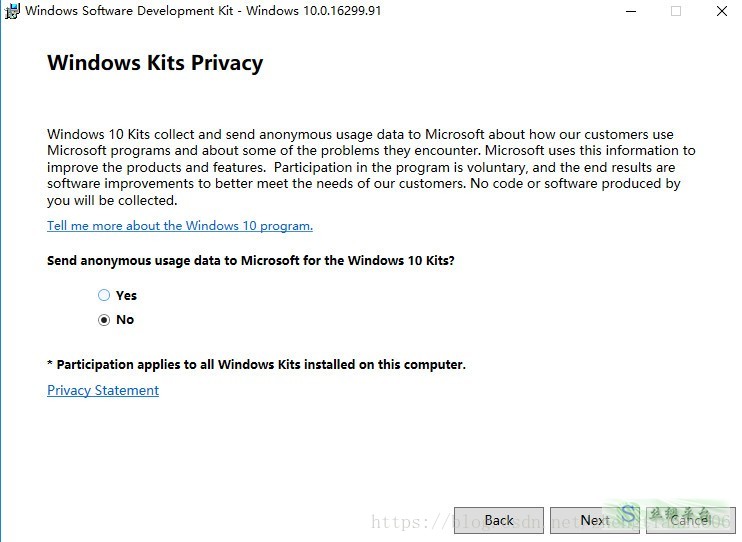
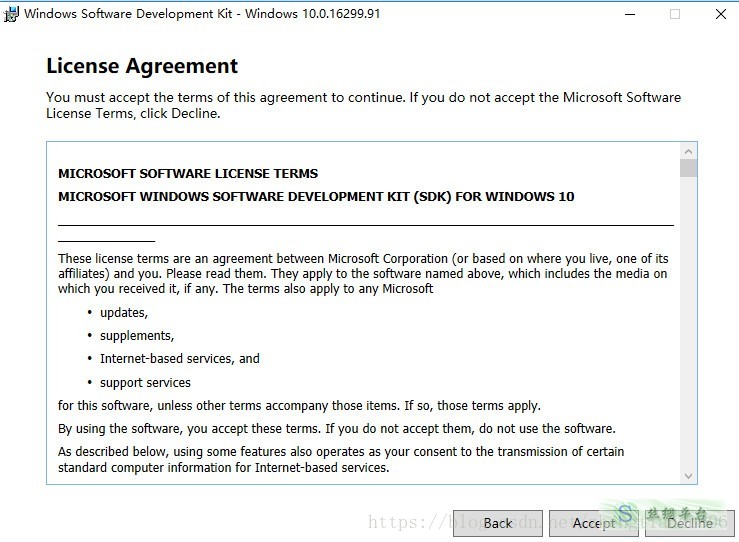
注意这里, 我们可以只选择安装调试工具
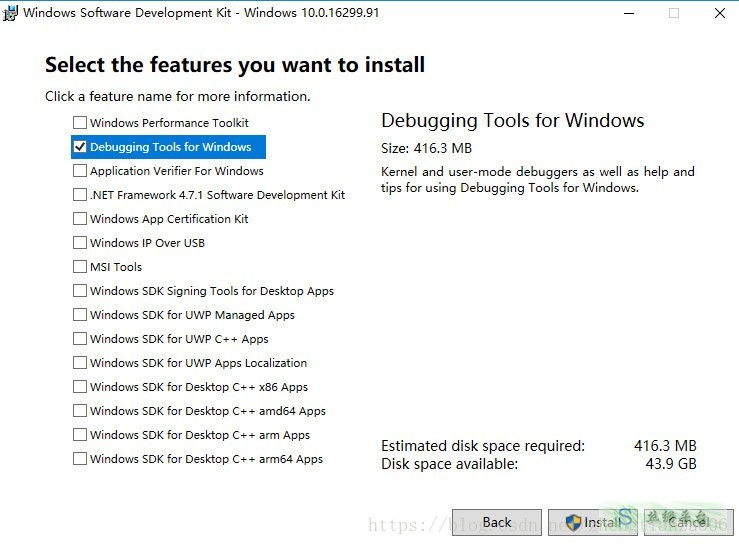
然后开始安装
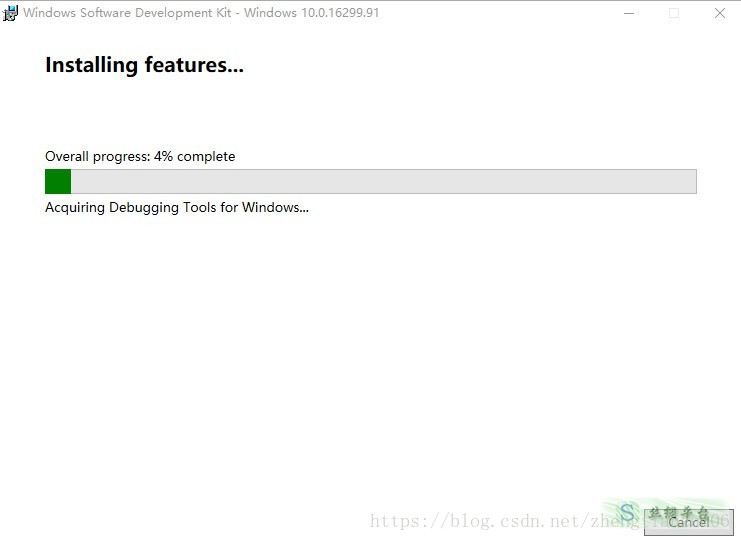
完成后重新启动Qt Creator
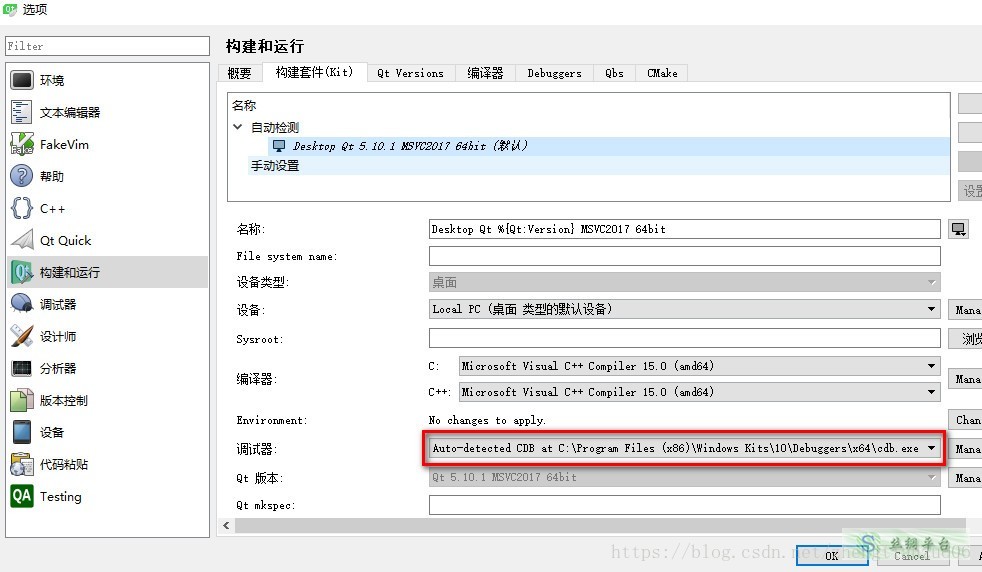
可以看到我们的VS2017 64位编译套件已经准备好了
参考链接https://blog.csdn.net/qq_21449473/article/details/107126475
https://blog.csdn.net/zhengtianzuo06/article/details/79807056
拓展知识:
MinGW与MSVC编译的区别
https://blog.csdn.net/zgaoq/article/details/79183520
如何查看Visual Studio版本、与MSVC版本号的对应关系https://blog.csdn.net/weixin_43961107/article/details/109017275?utm_medium=distribute.pc_relevant.none-task-blog-BlogCommendFromMachineLearnPai2-2.channel_param&depth_1-utm_source=distribute.pc_relevant.none-task-blog-BlogCommendFromMachineLearnPai2-2.channel_param
Q6:error: cannot openC:\Users???\AppData\Local\Temp\main.obj.???.0.jom for write
运行QT时,遇到:
? error: cannot open C:\Users???\AppData\Local\Temp\main.obj.???.0.jom for write
这是因为QT不支持中文路径,就算我更改了Microsoft帐号的名字仍然无法解决。因为在C盘的存放用户的相关文件的文件夹的名字仍然是中文。
后来经过搜索解决了这个问题,在此引用下他人的解决方案:
其实用到:C:\Users***\AppData\Local\Temp这个目录,很明显是系统的临时文件目录。我就想到肯定在创建Hello World项目时哪里的设置有问题,果不其然,去工具->选项->构建和运行,不要使用jom代替nmake。OK,成功运行
Q7:制作并设置图标
Q8:配置各种环境变量
window10下的VS2017环境变量配置教程https://blog.csdn.net/qq_39360169/article/details/104701353
关于VC为命令行生成设置路径和环境变量http://www.360doc.com/content/16/1011/13/9200790_597574148.shtml
QT打包动态库加cmake编译报错warning:Cannot find Visual Studio installation directory,VCINSTALLDIR is not set.
https://blog.csdn.net/qq_40414209/article/details/103102383
Q9:打包发布应用
在vs2017和vs2019下发布应用之Windows程序打包-附图标修改和默认安装路径定义全教程https://blog.csdn.net/zoomla_CMS/article/details/105755030?utm_medium=distribute.pc_aggpage_search_result.none-task-blog-2~all~sobaiduend~default-1-105755030.nonecase&utm_term=%E6%9F%A5%E6%89%BEvs2019%E5%AE%89%E8%A3%85%E7%9B%AE%E5%BD%95&spm=1000.2123.3001.4430#1%E9%87%8D%E8%A6%81%E5%B1%9E%E6%80%A7
自学QT之windeployqt工具的使用
https://blog.csdn.net/chizhou4731/article/details/100732256
QT 发布release版本
Qt程序通过enigma virtual box工具封包,生成单独的*.exe文件https://blog.csdn.net/gongjianbo1992/article/details/80863247


程序编译之qmake、make、makefile、库文件https://blog.csdn.net/u010710458/article/details/80175233
qmake的使用-生成项目的makefile文件https://blog.csdn.net/runner668/article/details/80030617
QT 设置程序图标https://blog.csdn.net/xiezhongyuan07/article/details/79320523
VS项目属性的一些配置项的总结(important)https://blog.csdn.net/yyhero1/article/details/19272637
Q10:绘图相关
Q1:qstringlist转qstring
QString str = fonts.join(",");
QStringList list1 = str.split(";")
Q2:
Qt开发笔记之Qwt(一):Qwt介绍、编译与Demo
Qt Widgets for Technical Applicationshttps://blog.csdn.net/qq21497936/article/details/77852657
Q3:Qt之QPainter:提高绘制效率的方法
如果我们用painter一个一个的绘制直线,圆等在控件上,绘制效率会不高,需要重复绘制,为了提高效率,我们可以设置一个画布pixmap,将所有的基础图形画布上,然后把画布画在控件上。
#include <QPixmap>void Widget::paintEvent(QPaintEvent *)
{
QPixmap pixmap(size());  //将画布的大小设置为和widget一样的    QPainter painter(&pixmap);  //在画布上常见一个画家    painter.setBrush(Qt::yellow);
painter.setPen(QPen(Qt::red, 2, Qt::DashLine));    painter.drawEllipse(QPoint(95, 333), 50, 50);    painter.drawText(QPoint(50, 50), "Hello world");    painter.end();  //画完了    painter.begin(this);  //在Widget上开始绘制    painter.drawPixmap(0, 0, pixmap);  //在控件上绘制pixmap图像    painter.drawLine(QPoint(50, 50), QPoint(60, 10));
}
Q4:修改图片pximap的分辨率
pix_img = pix_img.scaled(25, 25,QtCore.Qt.KeepAspectRatio)
按比例缩放:QPixmap scaledPixmap = pixmap.scaled(picSize, Qt::KeepAspectRatio);
不按照比例缩放:QPixmap scaledPixmap = pixmap.scaled(picSize);
20.QT-Qpixmap实现图片鼠标缩放,鼠标拖动示例(详解)
Q5:使用QPainter的时候QPainter不起作用,同时出现了如下错误:
QWidget::paintEngine: Should no longer be called
QPainter::begin: Paint device returned engine == 0, type: 1
QPainter::setPen: Painter not active
QPainter::drawPoints: Painter not active
经过谷歌知道了错误的原因:
All painting on a widget must happen in the paintEvent() function, and you are trying to paint outside of it – that won’t work.
You must either find a way to put all your drawing calls inside the paintEvent() function, or draw on a buffer, for example a QPixmap and then draw that pixmap onto the widget in the paintEvent() When you draw on a buffer you can draw from everywhere, the limitation is only for widget drawing. For pixmaps you (usually) must draw from the main thread, if you want to draw from another thread, use QImage instead.
QPainter的内存分配必须在 Widget :: paintEvent ( QPaintEvent *event)函数中进行。
Q6:QPainter::begin: Paint device returned engine == 0, type: 2
需要检查 QPainter 画布的大小。
pixmap 的Size =0, 或者
pixmap 的Size 过大 都会引起这个问题。
When you get a message from QPainter saying that the engine returned 0, this means that for some reason it is unable to paint on the paint device in question. Pretty much all the times you see this it would be in relation to a QPixmap or a QImage. In the case of QPixmap/QImage it means that it is null, meaning that it has no size set which is why it cannot paint to it. This is either because no size was specified for it or because the size requested was too big that it would have caused an overflow which meant that it ended up not having that size set. If you call isNull() then most of the time it will return true, but sometimes it is possible that QPixmap will not return true but will still have a problem if the size of the pixmap was too large. Reducing the size will make it work.
Q7:QGraphicsView使用详解
https://blog.csdn.net/bpv_kiki/article/details/89317141
Q8:
Q9:Qpximap,qimage剪裁
可以使用QPixmap::copy:
QRect rect(10, 20, 30, 40);
QPixmap original('image.png');
QPixmap cropped = original.copy(rect);
还有QImage::copy:
QRect rect(10, 20, 30, 40);
QImage original('image.png');
QImage cropped = original.copy(rect);
https://www.cnblogs.com/yuweifeng/p/9380766.html
QT打包应用
cd /d E:\My_Sourse\C++(vs2019+Qt)\Argo\Release\ windeployqt
QPainter的begin,end用法
https://www.cnblogs.com/ybqjymy/p/13516088.html QPainter painter(this); // 会立即开始在设备上绘制,自动调用begin()函数,然后析构函数中调用end()函数结束绘制。 QPainter painter;// 不带参数时,可以在后面调用QPainter::begin(QPaintDevice *device)来指定绘制设置,然后用完再调用end()函数。
qt基本图形编排系统
https://blog.csdn.net/nanfeibuyi/article/details/80295663?utm_source=app